A Step-by-Step Maintenance Guide
Are you experiencing issues with your shower's water flow or temperature? It's not uncommon for these problems to arise after a few months of use. Most often, the culprit behind these issues is a clogged thermostatic cartridge, and the solution is simple: a thorough cleaning. In this guide, we'll take you through the steps of cleaning your shower cartridge and maintaining your shower's optimal performance.
Why Cleaning Your Shower Cartridge Matters
Limescale buildup and debris accumulation are frequent causes of shower cartridge issues, especially in regions with hard water. Manufacturers typically recommend regular cartridge cleaning in the user manual. Neglecting this essential maintenance can lead to reduced water flow and inconsistent temperatures. Moreover, the shower cartridge is considered a moving part and might not be covered by extended warranties, which often last no more than six months.
Tools and Materials You'll Need
- Screwdriver and spanner
- Hot water
- Washing up liquid
- White vinegar
- Old toothbrush
- Soft cloth
Before you start, remember to turn off the water supply to your shower. If you're uncertain about this step, consult with a professional plumber.
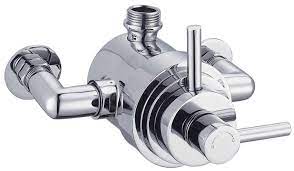
Cleaning an Exposed Bar Shower Valve
Step 1: Remove the end cap on the temperature side of your bar valve to access the screw. Unscrew and remove the outer casing of the shower valve.
Step 2: Carefully remove any internal washers that may obscure the shower valve.
Step 3: Using your spanner, loosen the cartridge and remove it from the shower valve.
Step 4: Create a cleaning solution by mixing equal parts warm water and white vinegar. Use an old toothbrush dipped in this solution to gently dislodge any debris. Follow up with a soft cloth to wipe away the loosened debris.
Step 5: Add a few drops of washing up liquid to the mixture, then place the cartridge in it. Allow it to soak for 10-15 minutes. Scrub the cartridge with the toothbrush and then dry it with your cloth.
Step 6: Reinsert the cartridge into the valve and tighten it with your spanner.
Step 7: Put the temperature knob back on the shower valve.
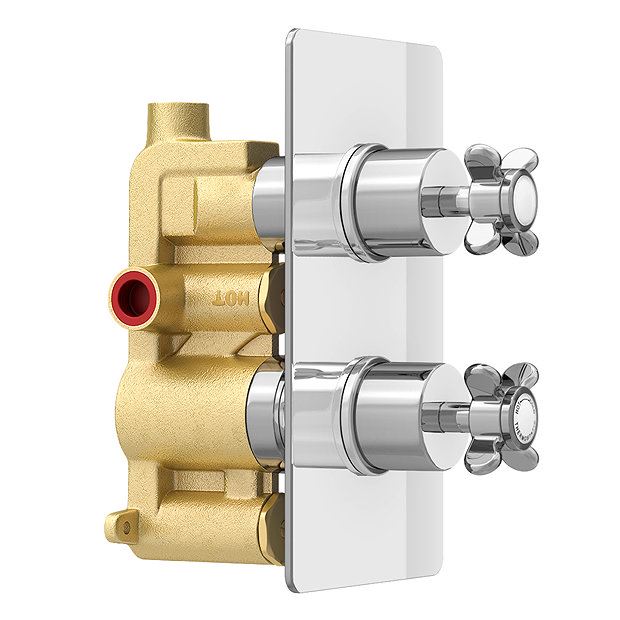
Cleaning a Concealed Shower Valve
Cleaning a concealed shower valve involves a similar process, with slight variations. You'll need an Allen key in addition to the tools and materials listed earlier. The steps are as follows:
Step 1: Remove the buttons on the shower valve. Use an Allen key if necessary.
Step 2: Remove the outer casing of your shower valve by gently prying it off with a flat screwdriver.
Step 3: Follow steps 2-6 from the exposed shower valve cleaning process.
Step 4: Press the cover of the shower valve back onto the wall and reattach the operational knobs.
By following this straightforward cleaning process every three months, you can significantly extend the lifespan of your shower and ensure consistent water temperature. Regular maintenance like this can also make it easier to clean the cartridge using a simple soap and water solution.
Don't wait until your shower's performance deteriorates; keep it in top condition with these easy cleaning steps. For all your plumbing needs in the Aventura and Hollywood, FL areas, trust Dovis Plumbing Services. We are your local plumber, ready to provide expert solutions whenever you need us.


